Subscription fees add up fast. A typical cloud-based security camera system can cost $10–$30 per month per camera, which translates to $120–$360 annually, and that’s before you’ve even bought the hardware. For homeowners looking to protect their property without bleeding cash every month, subscription-free security cameras offer full functionality, local storage, and zero recurring costs. This guide walks through the best no-subscription systems available in 2026, what features matter most, and how to install and optimize them for reliable, long-term home security.
Table of Contents
ToggleKey Takeaways
- Subscription-free security camera systems eliminate recurring costs of $120–$360 annually while providing full functionality through local storage on microSD cards or NVRs.
- A security camera system without subscription ensures privacy by keeping footage on local storage instead of third-party servers, reducing data breach risks.
- Top features to prioritize include at least 1080p resolution, AI-powered person detection, night vision, weather resistance (IP65/IP66 for outdoor), and two-way audio capabilities.
- PoE wired systems like Reolink RLK8-800B4 and wireless options like Eufy SoloCam S340 offer reliable subscription-free solutions, with costs ranging from $40 per camera to $600 for complete 4-camera kits.
- Proper maintenance—including regular microSD card replacement every 1–2 years, monthly firmware updates, lens cleaning, and optimized motion zones—maximizes performance without monthly fees.
- Secure your subscription-free security system by changing default passwords, using strong credentials (16+ characters), enabling two-factor authentication, and isolating cameras on a separate network VLAN.
Why Choose a Security Camera System Without Subscription Fees?
The primary advantage is simple: no recurring costs. Once the hardware is purchased, storage and functionality are yours indefinitely. This makes subscription-free systems ideal for budget-conscious homeowners, rental properties, or anyone uncomfortable with third-party cloud access to footage.
Subscription-based models often lock essential features, like extended playback, person detection, or activity zones, behind paywalls. Subscription-free cameras typically store footage on microSD cards (usually 32GB to 256GB), local network video recorders (NVRs), or offer limited free cloud storage. You own your data, and there’s no risk of losing access if a company changes its pricing model or shuts down servers.
Another factor: privacy. Local storage means your footage doesn’t travel to third-party servers. For families concerned about data breaches or surveillance capitalism, this is a meaningful benefit. That said, local storage requires diligent backup and card maintenance, if a card fails or a camera is stolen, that footage is gone unless you’ve set up redundant storage.
Top Features to Look for in Subscription-Free Security Cameras
Not all subscription-free cameras are created equal. Here’s what separates the best from the rest:
- Resolution: Look for at least 1080p (Full HD): 2K or 4K models provide better detail for identifying faces or license plates.
- Night vision: Infrared (IR) LEDs are standard: better models offer color night vision using spotlights or low-light sensors.
- Motion detection and alerts: AI-powered person detection reduces false alerts from shadows or pets. Some systems differentiate between people, vehicles, and animals.
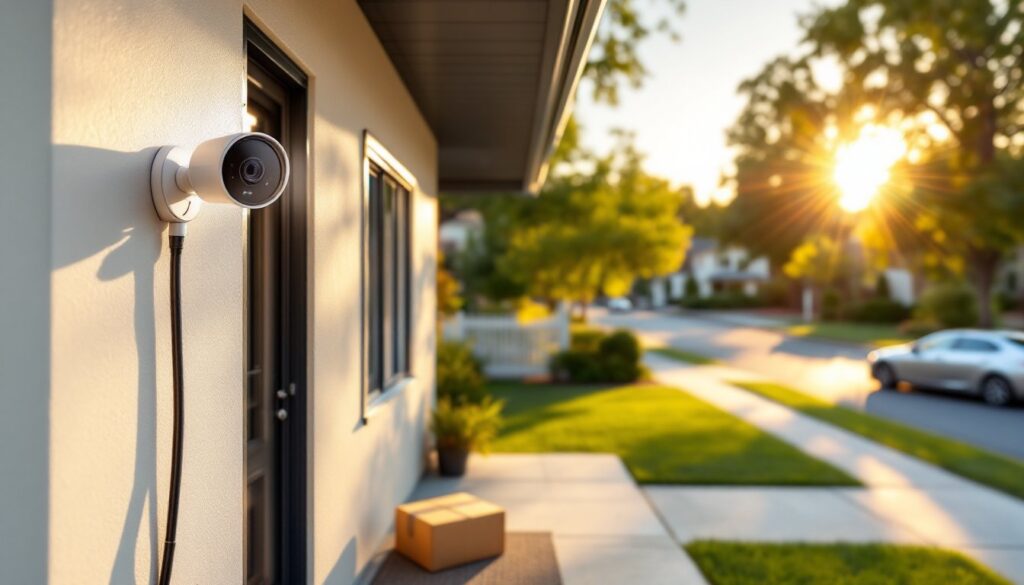
- Two-way audio: Built-in microphone and speaker let you communicate through the camera, useful for delivery instructions or deterring intruders.
- Weather resistance: Outdoor cameras need an IP65 or IP66 rating to handle rain, snow, and temperature swings. Indoor cameras don’t require this.
- Power source: Wired (PoE or AC) cameras offer uninterrupted power but require installation planning. Battery-powered models are flexible but need recharging every 2–6 months, depending on activity.
- Field of view: A 110°–130° lens covers most doorways and driveways: wider angles (160°+) can distort edges.
Many modern subscription-free cameras integrate with smart home systems, enabling automation and voice control through platforms like Alexa or Google Assistant.
Local Storage vs. Cloud Storage Options
Local storage is the backbone of subscription-free systems. Here’s how the main options stack up:
MicroSD cards are the most common. A 128GB card typically holds 3–7 days of continuous recording or weeks of motion-triggered clips, depending on resolution and compression (H.264 vs. H.265). Cards are cheap ($15–$40), but they wear out, buy high-endurance models rated for continuous recording, like SanDisk High Endurance or Samsung Pro Endurance. Most cameras loop-record, overwriting the oldest footage automatically.
Network Video Recorders (NVRs) centralize storage for multi-camera setups. These are essentially dedicated computers with large hard drives (1TB to 8TB+). An NVR connects to cameras via Ethernet (PoE systems) or Wi-Fi and offers longer retention, easier playback, and redundancy. Expect to spend $100–$400 for an NVR, depending on drive size and channel count (4, 8, or 16 cameras).
Some manufacturers offer limited free cloud storage (e.g., 7 days of clips) alongside local options. This isn’t true subscription-free, but it provides off-site backup without monthly fees. Check the fine print, some “free” tiers expire after a trial period.
Hybrid systems let you use both local and cloud storage. If your home is burglarized and the NVR is stolen, cloud backup preserves evidence. For most DIYers, a combination of microSD cards and an NVR offers the best balance of cost and reliability.
Best No-Subscription Security Camera Systems for Homeowners in 2026
Here are the top subscription-free systems worth considering, based on performance, value, and real-world reliability:
Reolink RLK8-800B4 (4K PoE System): An 8-channel NVR with four 4K PoE cameras. The NVR includes a 2TB hard drive (expandable to 6TB), and cameras feature person/vehicle detection and color night vision. This is a wired system, so expect to run Cat5e or Cat6 Ethernet cables. It’s ideal for new construction or homes where you can fish cables through walls. Total cost: around $500.
Eufy SoloCam S340: A wireless, solar-powered camera with dual lenses (wide and telephoto) for pan-and-zoom without moving parts. It records to a microSD card (up to 128GB) and offers AI person detection. Battery life is effectively unlimited with adequate sunlight. Great for perimeter monitoring where running power is impractical. Independent reviews on Tom’s Guide highlight its no-fee convenience. Around $200 per camera.
Lorex 4K Nocturnal IP System: Similar to Reolink but emphasizes color night vision up to 130 feet using warm LED lights. Includes an NVR with 2TB storage and four weatherproof cameras. PoE installation required. Lorex systems are sold through major retailers and offer decent warranty support. Roughly $600 for a 4-camera kit.
TP-Link Tapo C510W: A budget-friendly outdoor Wi-Fi camera with 2K resolution, microSD slot (up to 512GB), and IP66 rating. No hub required, connects directly to your router. Motion tracking and person detection are included. At around $40 per camera, it’s an entry point for DIYers testing the waters before committing to a full system.
Annke 8-Channel 4K NVR Kit: A value option with eight 4K PoE cameras and a 3TB NVR. Cameras feature EXIR 2.0 infrared for up to 100-foot night vision. The interface isn’t as polished as Reolink or Lorex, but the hardware is solid. Around $550–$600.
When comparing systems, consider whether you need indoor-only, outdoor-only, or a mix. Outdoor cameras cost more due to weatherproofing. Also, check if the system supports ONVIF (Open Network Video Interface Forum) protocol, this ensures compatibility with third-party NVRs and future-proofs your investment.
How to Install Your Subscription-Free Security Camera System
Installation complexity depends on whether you’re going wired or wireless. Here’s a practical walkthrough for both.
For PoE (wired) systems:
-
Plan camera placement: Sketch your property and identify vulnerable entry points, front door, back door, driveway, side gates. Mount cameras 8–10 feet high to avoid tampering but low enough for clear facial ID. Avoid aiming cameras directly at the sun.
-
Run Ethernet cables: Use Cat5e or Cat6 cable (outdoor-rated if burying or running along exterior walls). Drill through exterior walls using a 7/8-inch masonry bit for brick or a 1-inch spade bit for wood siding. Seal entry points with silicone caulk to prevent water intrusion. If fishing cables through walls, a fish tape or glow rod helps.
-
Mount cameras: Use the included mounting brackets and stainless steel screws (they resist rust better than the provided ones). For brick or concrete, pre-drill with a 1/4-inch masonry bit and use anchors. Aim the camera, then tighten.
-
Connect to NVR: Plug each camera’s Ethernet cable into the NVR’s PoE ports. The NVR supplies power and data over the same cable, no separate power adapters needed. Connect the NVR to your router via Ethernet and to a monitor via HDMI.
-
Configure settings: Access the NVR interface (usually via a web browser or proprietary app). Set recording schedules (continuous or motion-only), adjust motion zones, and configure alerts. Enable H.265 compression if available, it cuts storage use by ~30% versus H.264 without sacrificing quality.
For wireless/battery-powered systems:
-
Charge batteries: Fully charge each camera before mounting. Some take 4–6 hours.
-
Install mounts: Use the included screws or outdoor-rated adhesive mounts for surfaces you can’t drill. Position cameras within 20–30 feet of your Wi-Fi router for strong signal. Thick walls or metal siding can block signal, consider a Wi-Fi extender if needed.
-
Pair with app: Download the manufacturer’s app, create an account (even though there’s no subscription), and add each camera by scanning its QR code. Follow prompts to connect to your Wi-Fi network (2.4GHz is standard: most cameras don’t support 5GHz).
-
Insert microSD card: Power off the camera, insert the card (check the manual for max capacity), then power back on. Format the card through the app.
-
Test and adjust: Trigger motion detection by walking in front of the camera. Check the live feed and playback to confirm recording works. Adjust sensitivity to reduce false alerts.
Safety note: If drilling through exterior walls, wear safety goggles and a dust mask. Check for electrical wiring or plumbing behind walls using a stud finder with wire detection before drilling. For installs requiring ladders over 10 feet, have a second person spot you.
For more complex home security cameras installation, consider consulting with local installers to ensure proper placement and code compliance.
Maximizing Your Security Camera System’s Performance Without Monthly Fees
Subscription-free systems require a bit more hands-on maintenance, but these steps keep them running smoothly:
Regularly check microSD cards: Cards can fail without warning. Every 3–6 months, review playback to confirm recording is active. Replace cards every 1–2 years, or sooner if you notice corrupted files. Keep a spare card on hand.
Update firmware: Manufacturers release updates to patch security vulnerabilities and improve features. Check the app or web interface monthly for updates. Outdated firmware is a common entry point for hackers.
Clean lenses: Dust, pollen, and spider webs degrade image quality. Wipe lenses with a microfiber cloth every few months. For outdoor cameras, use compressed air to clear debris from vents.
Optimize motion zones: Draw motion detection zones to exclude trees, busy streets, or neighbors’ yards. This reduces false alerts and conserves storage. Many smart home systems allow zone-based automation.
Secure your network: Change default passwords on cameras and NVRs. Use a strong, unique password (16+ characters, mix of upper/lower/numbers/symbols). Enable two-factor authentication if available. Consider placing cameras on a separate VLAN (virtual LAN) to isolate them from your main network.
Test night vision: After initial setup, review nighttime footage. Adjust IR intensity if faces appear washed out or too dark. For color night vision cameras, ensure spotlights aren’t triggering constantly, they’ll drain battery or annoy neighbors.
Back up critical footage: If your NVR or microSD card is your only storage, download important clips (incidents, deliveries, etc.) to a computer or external hard drive. Cloud backup services like Google Drive or Dropbox can store clips manually if you’re willing to do the upload work.
Winterize outdoor cameras: In cold climates, verify your cameras are rated for low temperatures (typically -4°F to -20°F for consumer models). Ice buildup can obscure lenses, position cameras under eaves when possible. Battery cameras lose charge faster in cold: bring them indoors to recharge.
For homeowners exploring DIY security upgrades, reviewing a comprehensive CCTV guide can provide additional installation tips and best practices.
Conclusion
Subscription-free security cameras deliver long-term value without the monthly drain. Whether you opt for a robust PoE system with an NVR or a flexible wireless setup with microSD storage, the key is matching the system to your property’s layout and your comfort level with installation. With proper placement, regular maintenance, and attention to storage capacity, these systems provide reliable home protection year after year, no recurring fees required.