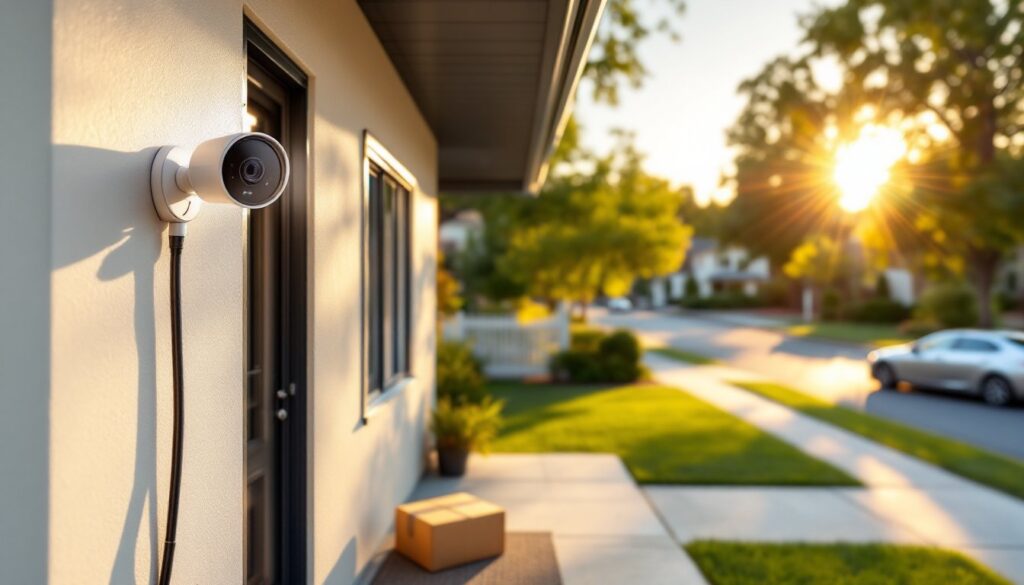
A 16 channel security camera system isn’t overkill, it’s comprehensive coverage for properties that need more than a doorbell cam and a prayer. Whether you’re securing a large home with multiple entry points, a detached garage, or outbuildings, this setup allows simultaneous monitoring of 16 separate camera feeds through a single network video recorder (NVR) or digital video recorder (DVR). It’s the sweet spot between residential and commercial-grade surveillance, giving homeowners the ability to eliminate blind spots without juggling multiple apps or subscriptions.
Table of Contents
ToggleKey Takeaways
- A 16 channel security camera system eliminates blind spots across large properties by simultaneously monitoring 16 camera feeds through a single NVR or DVR, making it the ideal balance between residential and commercial surveillance.
- IP-based NVR systems with Power over Ethernet (PoE) simplify installation by requiring only one cable per camera for both data and power, while analog DVR systems are more budget-friendly but capped at 4K resolution.
- The 16 channel system provides room to grow, allowing you to start with 10 cameras on critical zones and expand later without replacing the entire system or managing multiple recorders.
- Prioritize 4MP resolution as the baseline, H.265+ compression to double storage capacity, and cameras with night vision capability over pixel density when selecting components for your security setup.
- Proper camera placement strategy—focusing on choke points, high-value targets, and blind spots at 8–10 feet height with 15–20 degree downward angles—delivers better surveillance than random high-resolution placement.
- DIY installation of a 16 channel security camera system is achievable in 10–14 hours with basic tools, but professional help is recommended for complex tasks like running cable through finished walls or integrating with home automation systems.
What Is a 16 Channel Security Camera System?
A 16 channel system consists of a central recorder (NVR for IP cameras, DVR for analog) with the capacity to record and display feeds from up to 16 cameras simultaneously. The recorder connects to cameras via Ethernet cables (for IP systems) or coaxial cables (for analog HD systems like HD-TVI or HD-CVI).
NVR systems use Power over Ethernet (PoE), meaning a single Cat5e or Cat6 cable per camera handles both data and power, no separate outlet required at each camera location. This simplifies installation significantly. Most NVRs include a built-in PoE switch, though large properties may need an additional PoE switch to extend cable runs beyond 300 feet.
DVR systems use coaxial cable (typically RG59) for video and require separate power cables to each camera, usually via a centralized power distribution box. Analog systems are often more budget-friendly but cap out at 4K resolution, while IP systems scale to 8MP or higher.
Both types store footage on internal hard drives, usually 2TB to 8TB per drive, with many recorders supporting dual-drive configurations for redundancy. Cloud backup is optional but adds monthly costs.
Why Choose 16 Channels for Your Home Security?
Sixteen channels provide room to grow. Most homeowners don’t need all 16 cameras on day one, but the flexibility matters. Start with 10 cameras covering critical zones, front door, driveway, backyard gates, side yards, garage doors, and leave capacity for future additions like a workshop, pool area, or rear property line.
Compare that to an 8 channel system: you’ll max out quickly and be forced to choose between coverage gaps or buying a second recorder. A second system means duplicate software, split storage, and no unified timeline for reviewing events. Systems with support for expansive 16-camera configurations are designed to scale with your property needs.
Properties that benefit most from 16 channels:
- Homes on 1+ acre lots with detached structures
- Multi-story houses with wrap-around porches or multiple ground-level entries
- Properties with long driveways, RV pads, or boat storage
- Home-based businesses needing liability coverage (workshops, Airbnb units)
- Rural homes where response times are measured in tens of minutes, not five
Another angle: resale value. A professionally installed, expandable security system is a tangible asset. Buyers in suburban and rural markets increasingly expect whole-property surveillance, especially in areas without HOA security or gated access.
Key Features to Look for in a 16 Channel System
Not all 16 channel systems are created equal. Here’s what separates a solid investment from a budget headache.
Storage Capacity and Recording Options
Hard drive size dictates how much footage you retain before the system overwrites old files. A 4TB drive recording 16 cameras at 4MP resolution with continuous recording holds roughly 10–14 days of footage. Bump that to 8TB, and you’re looking at 20–28 days.
Most systems offer three recording modes:
- Continuous: Records 24/7. Eats storage but captures everything.
- Motion-activated: Saves space by recording only when motion is detected. Requires proper sensitivity tuning to avoid false triggers from tree branches or headlights.
- Scheduled: Records during specific hours (e.g., overnight or when you’re away). Good for secondary zones like a backyard.
Look for H.265+ compression. It cuts file sizes by 50% compared to older H.264 codecs without sacrificing image quality, effectively doubling your storage capacity.
RAID support (Redundant Array of Independent Disks) mirrors footage across two drives. If one fails, you don’t lose recordings. It’s overkill for most homes, but critical if you’re documenting liability-prone areas like rental properties.
Resolution and Camera Quality
4MP (2560×1440) is the baseline for 2026. It’s sharp enough to identify faces at 20–30 feet and read license plates at 15–20 feet under good lighting. 5MP and 8MP cameras offer more detail for zooming into footage post-event, but they also demand more bandwidth and storage.
Many home security camera systems now include AI-driven features like person/vehicle detection, reducing false alarms from pets or shadows.
Night vision range matters more than daytime clarity for most homeowners. IR LEDs typically illuminate 80–100 feet, but camera placement and ambient light affect real-world performance. Cameras with Starlight sensors or Color Night Vision maintain color footage in low light by using larger image sensors and wider apertures (f/1.0 or f/1.2).
Weatherproof ratings: Look for IP66 or IP67 for outdoor cameras. IP66 handles heavy rain and dust: IP67 adds brief submersion protection (useful near sprinklers or poolside). Metal housings outlast plastic in direct sun.
Varifocal lenses (adjustable zoom, typically 2.8–12mm) let you dial in the field of view after installation. Fixed lenses are cheaper but lock you into one perspective, fine for a doorway, limiting for a driveway.
Planning Your Camera Placement Strategy
Sixteen cameras sound like overkill until you map your property and realize how fast they disappear. Walk your perimeter and note:
- Choke points: Areas where anyone approaching must pass (gates, driveway entrances, walkways).
- High-value targets: Tool sheds, detached garages, HVAC units (copper theft is real), propane tanks.
- Blind spots: Corners where fences meet, areas behind bushes, spaces between structures.
Prioritize coverage over pixel-peeping. A 4MP camera watching your back door beats an 8MP camera aimed at the neighbor’s tree line.
Height and angle: Mount cameras 8–10 feet high to prevent tampering but avoid excessive downward tilt, you’ll capture hats and hoodies, not faces. Aim for a 15–20 degree downward angle. For driveways, mount one camera at the entrance (facing inward to catch plates) and another midway to capture side profiles.
Lighting considerations: Motion-activated floodlights paired with cameras improve footage quality and act as deterrents. But avoid mounting cameras directly under lights, it creates glare and washes out IR night vision. Offset by 3–5 feet.
Cable routing: PoE runs max out at 300 feet from the NVR or switch without a repeater. For detached buildings, consider running conduit underground or using a PoE extender (adds another 300 feet). Never run low-voltage cable parallel to electrical lines for more than a few feet, it introduces interference.
Sketch your layout on graph paper or use a floor plan app. Mark camera locations, cable paths, and the NVR spot (typically a closet, basement, or garage with Ethernet access to your router). This is also the time to identify if you’ll need to drill through brick, siding, or a concrete foundation, each requires different bits and techniques.
DIY Installation Tips for 16 Channel Systems
Running 16 cameras is a weekend project for someone comfortable on a ladder with a drill. It’s not complicated, but it’s time-consuming. Budget 10–14 hours for a first-timer, half that if you’ve done low-voltage work before.
Tools and materials you’ll need:
- Drill with 1/2″ and 3/4″ spade bits (for siding and wood) or masonry bits (for brick/concrete)
- Fish tape or pull rods for running cable through walls
- Cable clips or conduit for exposed runs
- Silicone sealant (outdoor-rated) for sealing entry holes
- Crimping tool if you’re making custom-length Ethernet cables (optional but handy)
- Laptop or monitor for configuring the NVR
- Ladder (obviously) and a second pair of hands for camera mounting
Step-by-step:
-
Test cameras before mounting. Plug each one into the NVR indoors, verify it powers on and displays video. Label cables with tape and a marker (Camera 1–Front Door, etc.).
-
Mount the NVR in a ventilated space near your router. Connect it to the router via Ethernet and to a monitor via HDMI. Power it on and follow the setup wizard to create admin credentials. Many systems default to weak passwords, change it immediately.
-
Run cables first, mount cameras second. Drill entry holes at each camera location, feed cable through, and leave 2–3 feet of slack coiled behind the mount. Seal holes with silicone to prevent water intrusion and pest entry.
-
Attach camera mounts with lag screws into wood studs or siding (use a stud finder). For brick or stucco, use concrete anchors and a hammer drill. Avoid drywall-only anchors, they’ll sag within weeks.
-
Plug in and aim. Connect each camera to the NVR, pull up the live view on your monitor, and adjust the angle. Tighten mounting screws only after you’ve confirmed the frame captures what you need. Following thorough home security cameras installation practices ensures reliable, long-term performance.
-
Configure motion zones and alerts in the NVR software. Draw boxes around active areas (walkways, driveways) and exclude zones with constant motion (trees, streets). Set sensitivity to medium and tweak from there.
When to call a pro:
- Running cable through finished walls or ceilings (risk of hitting wiring or plumbing)
- Mounting cameras above second-story rooflines (fall hazard)
- Integrating with existing home automation or alarm systems (requires protocol knowledge)
- Properties requiring conduit burial (check local code, some jurisdictions require 18–24 inches depth)
Safety reminders: Wear gloves when handling metal camera housings (sharp edges), safety glasses when drilling overhead, and use a fiberglass ladder near electrical service entrances. Turn off power to any outlets you’ll be drilling near. If you’re unsure about a wall’s contents, a stud finder with AC detection will locate live wires.
Most home security cameras come with basic mounting hardware, but upgrading to stainless steel screws adds corrosion resistance in coastal or high-humidity climates. Budget $20–30 for a hardware upgrade across 16 cameras, it’s worth it.