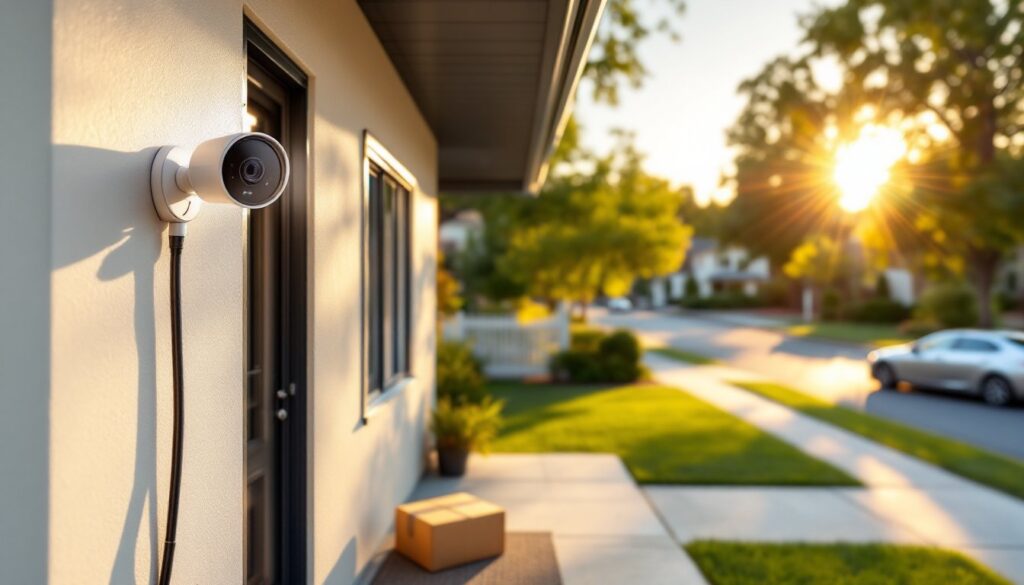
Home security doesn’t have to drain your wallet. Gone are the days when effective surveillance meant investing thousands in professional-grade systems and monitoring contracts. Today’s budget-friendly cameras pack features like 1080p resolution, motion detection, and smartphone alerts into devices that cost less than a good power drill. But “affordable” doesn’t automatically mean “good”, plenty of cheap cameras deliver grainy footage and frustrating app experiences. The trick is knowing which budget models actually work, where they fit best in your home, and what corners manufacturers cut to hit that price point.
Table of Contents
ToggleKey Takeaways
- True affordability for budget security cameras goes beyond upfront cost—factor in subscription fees, power requirements, and total ownership costs over at least two years to avoid surprise expenses.
- The best affordable security camera for most DIY homeowners balances 1080p resolution, night vision, and local storage options, with the $40-$60 price range offering the best value without requiring expensive cloud subscriptions.
- Proper mounting height (7-9 feet) and strong Wi-Fi signal (at least 2 Mbps upload) directly impact security camera performance more than hardware specs alone.
- Motion detection zones and weather resistance (IP65 rating minimum) are essential features that separate effective budget cameras from cheap models that frustrate daily users.
- Popular affordable options like Wyze Cam v3 ($36) excel for mixed indoor/outdoor use, while Blink Outdoor 4 ($50-60) solves battery life for remote locations and TP-Link Kasa EC60 ($30) dominates indoor monitoring with pan-tilt functionality.
What Makes a Security Camera Truly Affordable?
Price tags tell only part of the story. A $30 camera that requires a $15/month cloud subscription isn’t actually budget-friendly, it’ll cost you $210 in the first year alone. True affordability factors in the total ownership cost over at least two years.
Upfront hardware cost matters most to DIYers on tight budgets. Entry-level cameras now range from $25 to $80, with the sweet spot around $40-$60 for devices that won’t frustrate you daily. At the low end, expect basic 720p resolution and limited features. Mid-range budget cameras typically offer 1080p, night vision, and two-way audio.
Subscription fees can sink affordability fast. Many manufacturers offer free local storage via microSD card slots (usually supporting 32GB to 128GB cards, roughly 7-30 days of motion-triggered footage). Cloud storage subscriptions typically run $3-$10/month per camera. Do the math: a $50 camera with required cloud storage costs more over two years than an $80 camera with free local storage.
Power requirements affect installation flexibility and cost. Battery-powered cameras offer the easiest DIY install but need recharging every 2-6 months depending on activity. Wired cameras mean routing power, either plugging into nearby outlets or running low-voltage wiring. For outdoor monitoring, wired power beats batteries in cold climates where lithium cells lose capacity fast.
Warranty length signals manufacturer confidence. Budget cameras should still carry at least a 1-year warranty. Anything less suggests the maker doesn’t expect their product to last.
Key Features to Look for in Budget Security Cameras
Not all features matter equally. Focus your budget on capabilities that directly improve security rather than gimmicks that look good on spec sheets.
Video resolution starts mattering at 1080p (1920×1080 pixels). That’s the minimum for reading license plates at 15-20 feet or identifying faces at your front door. Some budget cameras still ship with 720p, fine for basic motion detection but frustrating when you actually need to identify someone. A few newer budget models offer 2K or even 4K, but higher resolution eats storage and bandwidth. For most DIY installs, 1080p hits the sweet spot.
Night vision range varies wildly. Infrared LEDs illuminate scenes without visible light, but budget cameras typically manage only 15-25 feet of usable night footage. That’s enough for a porch or small yard. Larger properties need multiple cameras or strategically placed outdoor motion-activated lights to supplement IR capability.
Motion detection zones separate useful alerts from notification spam. Better budget cameras let you mask areas like busy streets or swaying trees, so you’re not getting pinged every time a car drives past. Pixel-based detection (measuring frame changes) is standard: fancier AI-powered person detection usually requires those monthly subscriptions.
Weather resistance matters for outdoor cameras. Look for an IP65 rating minimum, that’s dust-tight and protected against water jets. IP66 or IP67 is better for harsh climates. Indoor cameras need no rating but should tolerate your home’s humidity levels.
Two-way audio turns a camera into a doorbell alternative or pet monitor. Microphone quality varies, but even budget models now include speakers loud enough to tell delivery drivers where to leave packages. Don’t expect crystal-clear calls, compression and latency make conversations choppy.
Field of view determines coverage area. Most budget cameras offer 100-120 degrees horizontally, covering a standard doorway or room corner. Wider angles (130+ degrees) reduce blind spots but can distort edges. Pan-tilt cameras cost more but let you check entire rooms remotely.
App functionality makes or breaks daily use. Before buying, check recent app reviews (not the camera reviews, the actual app). Clunky interfaces, constant disconnections, and missing features plague budget camera apps. Test the return period if possible.
Top Affordable Security Camera Picks for Different Needs
Best Overall Budget Camera
The Wyze Cam v3 remains hard to beat at $36. It delivers solid 1080p footage, color night vision (not just IR), and an IP65 weather rating for indoor/outdoor flexibility. The included microSD slot supports up to 32GB of local storage without subscriptions. Motion detection zones work well enough for most setups, though the free AI detection features got moved behind Wyze’s Cam Plus subscription ($2/month).
Installation takes minutes, magnetic base, 6-foot USB power cable, and the Wyze app. The camera connects via 2.4GHz Wi-Fi only (no 5GHz support), which matters if your router’s 2.4GHz band is crowded. App performance has improved after early bugs, though live view still takes 3-5 seconds to load.
Deal breakers: No battery option exists, so you’ll need nearby power. Cloud storage starts at $2/month, reasonable but not free. The magnetic mount won’t survive high winds, use the included screw plate for permanent outdoor installs.
Best for Outdoor Monitoring
The Blink Outdoor 4 trades some features for incredible battery life. Two AA lithium batteries power it for up to 2 years with moderate use (10-15 activations daily). At $50-$60 per camera, it costs more than Wyze but eliminates power routing hassles for remote shed monitoring or detached garages.
Video quality hits 1080p with decent infrared night vision to about 20 feet. The included Sync Module 2 supports USB drives for local storage (drive sold separately), though Blink’s cloud subscriptions ($3/month or $10/month for unlimited cameras) offer easier footage management. Since professional monitoring integration matters for some homeowners, Blink works with Amazon’s security ecosystem if you want future upgrades.
Weather resistance reaches IP65, handling rain and snow down to -4°F. Motion detection responds in 0.25 seconds, fast enough to catch someone walking past, not sprinting. The 110-degree field of view covers standard doorways and paths but misses peripheral zones.
One warning: Blink requires the Sync Module hub plugged into your router. It’s not a deal-breaker (comes in multi-camera kits) but adds one more device to your network. Battery life drops significantly in cold weather, plan on 6-month changes if mounting in unheated areas.
Best Indoor Option
The TP-Link Kasa EC60 at $30 is a simple, effective indoor camera with a 360-degree pan function and 114-degree tilt range. Unlike fixed cameras, it lets you check entire rooms from your phone. Resolution tops out at 1080p with serviceable night vision to about 30 feet indoors.
Kasa’s app is notably cleaner than competing budget options. Setup takes under five minutes: plug in, scan QR code, connect to Wi-Fi. The camera supports 2.4GHz and 5GHz bands, so you can offload it to less-crowded frequencies. Local storage works via microSD cards up to 128GB (card not included), about two weeks of motion-triggered recording.
The pan-tilt motors make slight buzzing sounds when moving, which might bother light sleepers if installed in bedrooms. Motion tracking follows movement automatically but sometimes lags behind fast-moving pets or kids. Two-way audio works fine for conversations, though background noise cancellation is minimal.
Kasa offers cloud storage subscriptions starting at $3/month, but they’re optional if you use local cards. The camera includes on-device AI for person detection without subscriptions, a rare budget feature. For larger CCTV installations with multiple rooms, Kasa cameras integrate into home automation systems via IFTTT and Alexa/Google Home.
Skip this one for outdoor use. Even though manufacturer claims of ‘high durability,’ it’s indoor-rated plastic that won’t survive weather or temperature swings.
Installation Tips for DIY Homeowners
Mounting height affects footage quality more than most DIYers expect. Install cameras 7-9 feet high, low enough to capture faces, high enough to resist tampering. Too high and you get great shots of hats and bald spots. Too low and anyone can spray paint the lens or rip it down.
For wired cameras, plan your cable runs before drilling. Most budget cameras use USB power (5V) rather than Power over Ethernet (PoE). USB cables max out around 16 feet before voltage drop causes disconnections, some manufacturers spec even less. If you need longer runs, use a proper outdoor-rated cable and test it before mounting permanently. Running cable through exterior walls typically requires drilling a ⅝-inch hole and sealing with weatherproof caulk. Check local codes, some jurisdictions want low-voltage wiring inspected.
Wi-Fi signal strength kills more camera installs than any hardware issue. Walk to your planned camera location with your phone, connect to your home Wi-Fi, and run a speed test. You need at least 2 Mbps upload per 1080p camera for reliable streaming. If signal’s weak, consider adding a Wi-Fi extender ($25-$40) or upgrading to a mesh router system.
Test mounting surfaces before committing to screw locations. Vinyl siding needs backing, you’re screwing into sheathing or studs, not just siding. Stucco and brick require masonry bits and anchors rated for outdoor use. Fiber cement siding (Hardie board and similar) needs carbide-tipped bits. Pre-drill pilot holes to prevent cracking.
Viewing angles matter more than marketing photos suggest. Before final mounting, temporarily position cameras with painter’s tape and check the live view. That perfect spot might show glare at noon or get blinded by porch lights at night. Adjust height and angle to minimize sky in the frame, clouds and bright backgrounds cause most cameras to underexpose the areas you care about.
For battery cameras, accessibility balances security and maintenance. Mount too high and you’ll need a ladder every recharge cycle. Some DIYers install extra cameras in high-traffic areas where battery life is shorter but access is easier.
PPE basics: Wear safety glasses when drilling overhead, and use gloves when handling metal mounting hardware. If running cable through walls, dust masks help with insulation particles.
One often-missed step: label your cables at both ends before routing through walls. Future-you will appreciate knowing which cable powers which camera without playing an elimination game.
Finally, check your recorder or app settings after install. Many cameras ship with motion sensitivity cranked high (to seem responsive in demos) or recording quality set to ‘auto’ (which drops resolution to save bandwidth). Spend ten minutes in settings adjusting zones, schedules, and quality before calling the job done. Test nighttime footage after dark, IR reflection from nearby surfaces often needs angle adjustments you won’t spot during day installs.